Why Would Anyone Do This?
I’ve done the unthinkable: I shot an entire 36-exposure roll of 35mm color negative film to get a single image, then defiled the divine analog process further by using digital methods to….to…. I’m not sure I can even type this out. Maybe I should just rip the band aid off quick and get this out: I used digital methods to remove most of the film grain. Gah. That hurt.
I know what you’re thinking, and I know that your fury is probably burning hot right now if you’re a film purist. Before you begin gathering firewood and erecting the stake to burn me on, hear me out. You’re probably wondering why I would do such a thing. That’s fair. I mean, let’s face it — it does seem like kind of an odd thing to do. Why not just shoot digital in the first place, right? Well, I could have, but sometimes the process itself is part of the enjoyment of photography. Does that make sense? Shooting film certainly adds a lot of extra processing over the digital workflow, even without adding extra steps like I did to get this result. So it was just that much more fun to shoot and process.
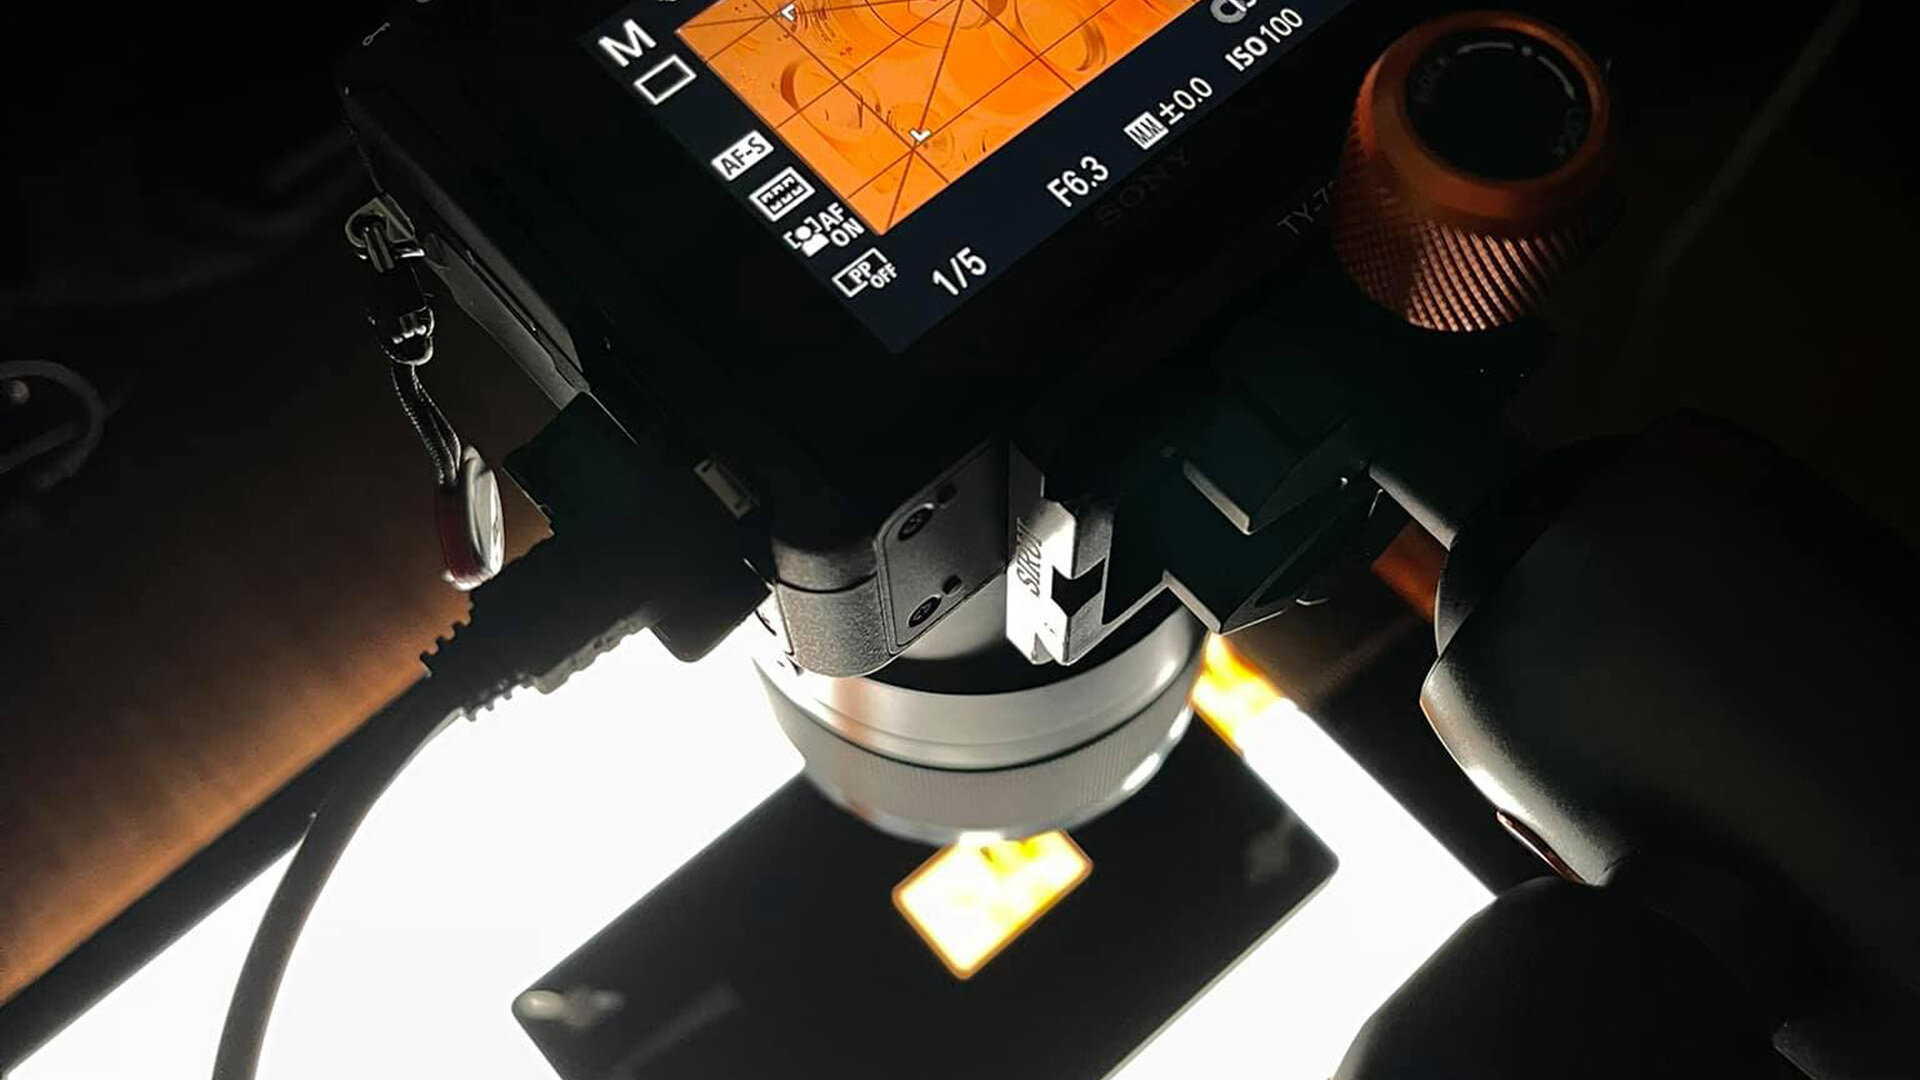
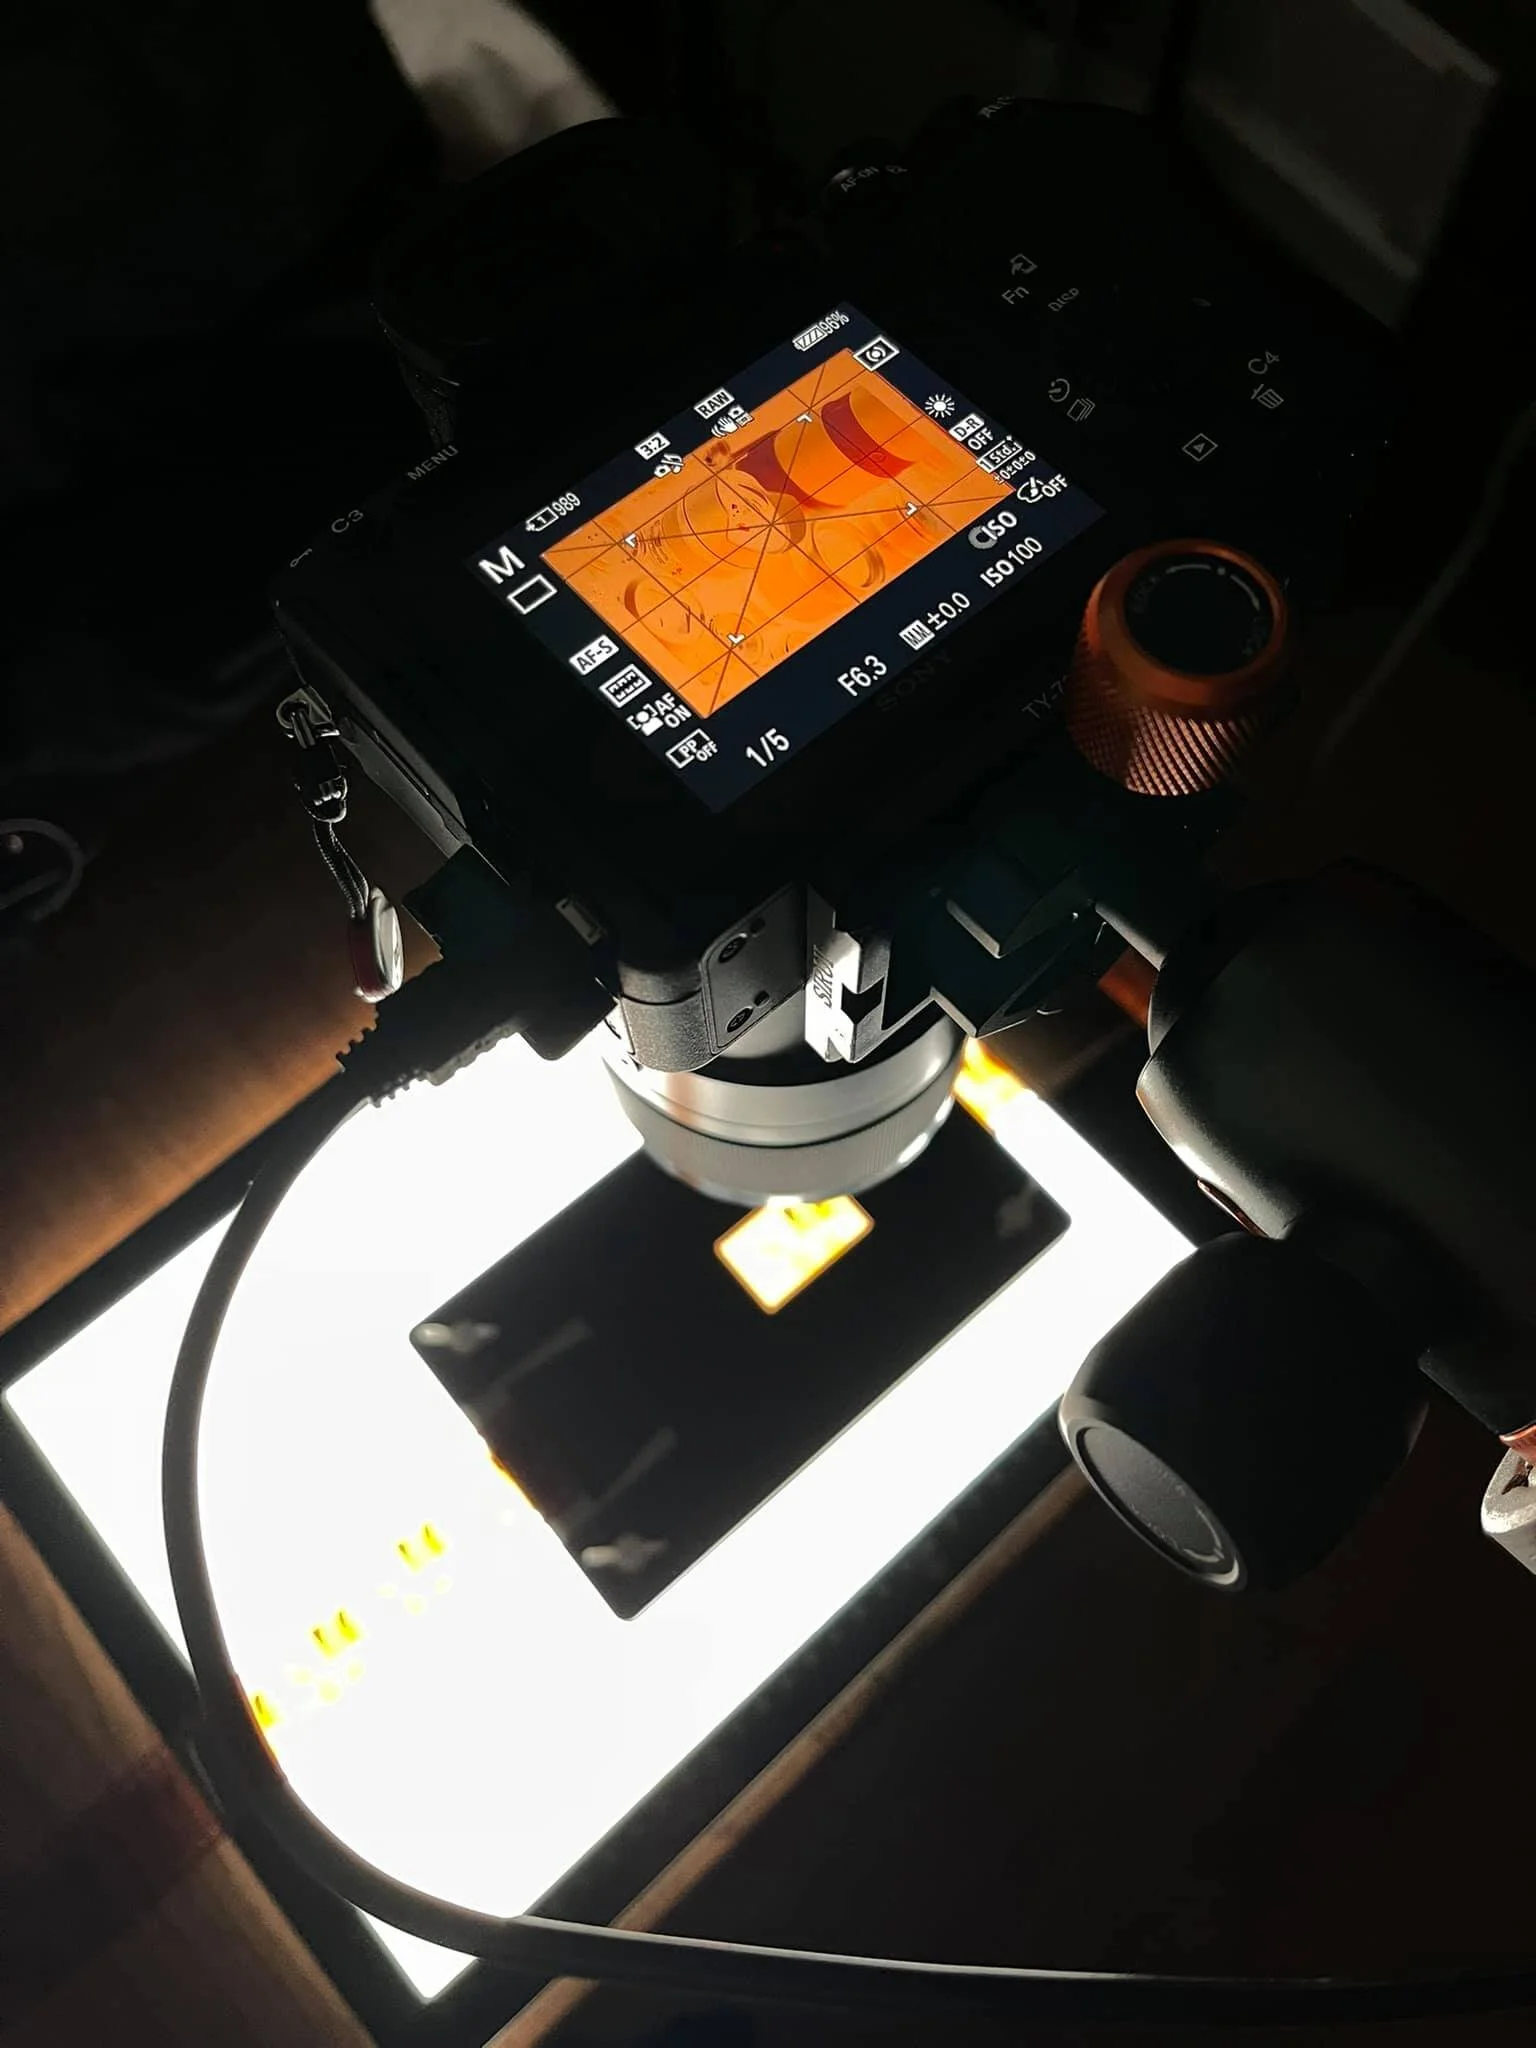
So, what did I do? Well, nothing truly groundbreaking to be honest. I set some of my lenses up in an arrangement that I thought looked decently good, added some lighting to give the scene a particular look, then shot 36 images of it with a Nikon F100 and Sigma 105mm f/2.8 macro lens (first gen). After developing the roll in chemicals from Cinestill’s C-41 kit, I “scanned” each negative using one of the common methods out there today: photographed them on a light table with a mirrorless camera. In this case, I used a Sony a7RIV for it’s 61 megapixel resolution and a Sony 90mm f/2.8 G Macro lens for close-up detail and the noted sharpness of that lens. Once finished with collecting all of the images, it was time to feed them into Adobe Lightroom for enlargement using Adobe’s new super resolution algorithm. It doubled the size of the images while keeping the detail. The oversized negatives were inverted to positive images using the Negative Lab Pro plugin for Lightroom.
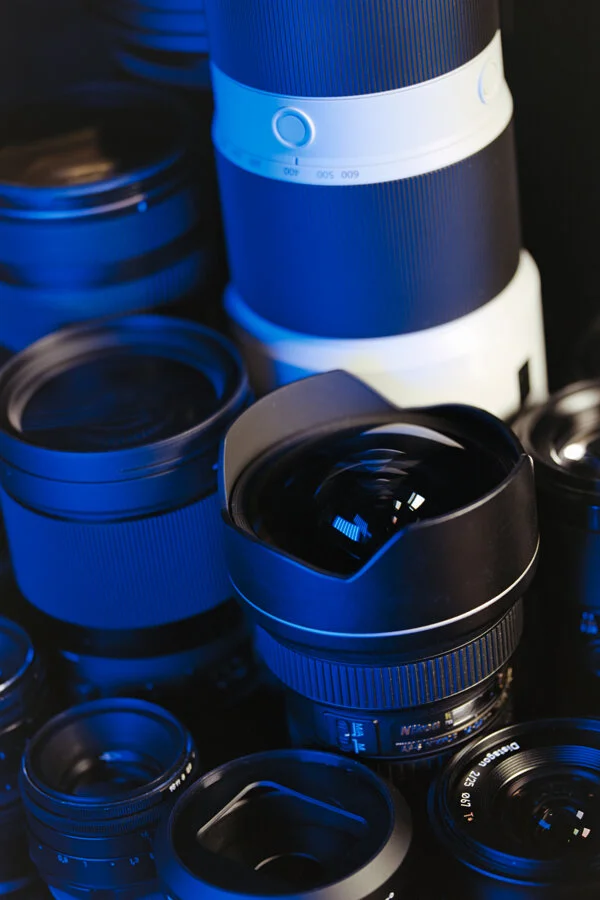
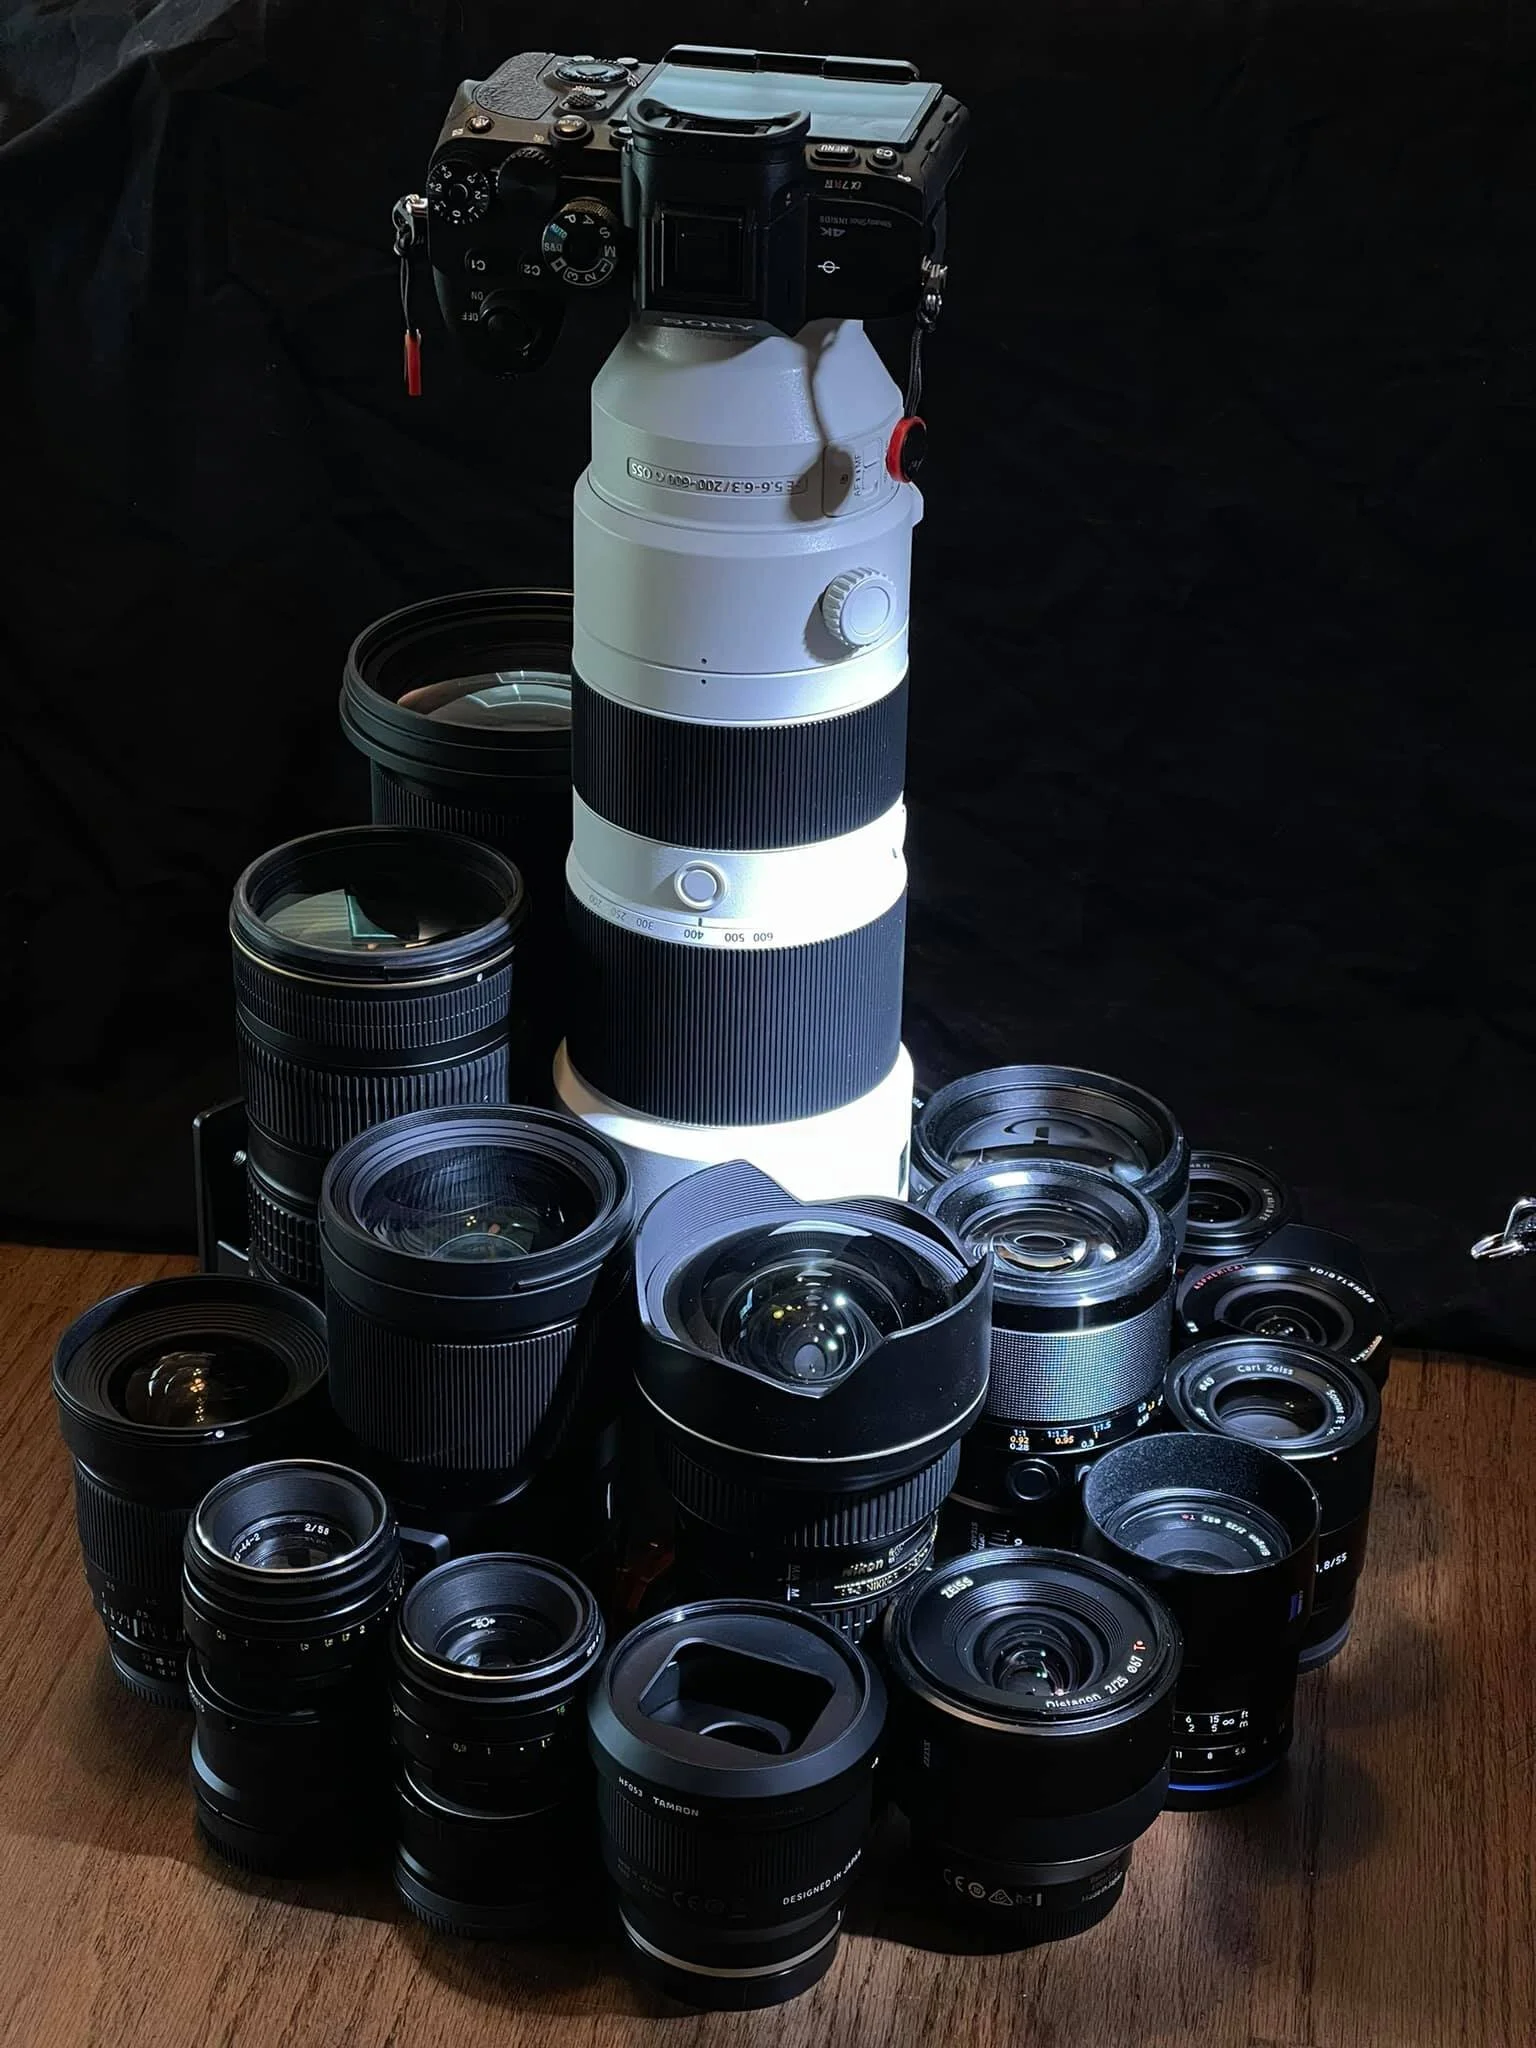
The only thing left to do with a pile of giant, identical images is to have Photoshop align, stack and then convert them into a Smart Object. The last step is to change the stack mode to “median” by going to the top menu and selecting Layer -> Smart Object -> Stack Mode -> Median. Doing this causes Photoshop to look through the entire stack of images and keep whatever stays the same from frame to frame, then discard the outlier data. An outlier would be anything that changes frame to frame, like dust spots, hairs, and….film grain! So the final result is a clean, smooth, detailed ~120 megapixel image from a roll of consumer-grade 35mm film. I had it printed at 16x24 and it looks great! Actual film color with high resolution and sharpness.
It was a fun experiment to see if it could be done, but I wouldn’t recommend doing it all the time unless you just have a ton of free time on your hands. This method works well for situations where you want a large, detailed print from a particular 35mm film stock and aren’t looking for the final image to have as much “character” as a single frame from the film typically does. It also requires a subject that’s mostly still as moving objects will either show blur or just disappear altogether in the median stack. Something to keep in mind.
If you’re looking for something fun to try, this may be worth it for at least one roll. Don’t do it too often though, or the analog crowd will start grabbing their pitchforks.